Part 2 of our Laravel + Statamic series
Vibes shouldn’t be the sole determiner when picking a CMS, but its undeniable, Statamic has some really great vibes. This post is part of an ongoing series, if you’re unfamiliar, checkout the first post in the series here: huement.com/blog/building-huements-blog.
As mentioned in that earlier article, we started by having had a couple bad CMS experiences, it wasn't until I setup a Statamic template from their example section, a prebuilt example blog, that I became convinced it was the right tool for the job. I highly recommend doing this before attempting to install it. Not that installing it is hard, but having a demo like this to play around with on your own system is going to make everything much easier when you do start using it in your own app.
This article is written with a few assumptions / prerequisites. The most important is that you have already setup a fresh Statamic install, gotten your database configured, and are ready to start adding pages and displaying CMS content.
If you need help with that checkout the earlier articles in the Laravel + Statamic series.
Crafting a UI
Building an entire blog is a lot of work, and have a lot of 'unique' one off elements, only relevant to the site. Huement is no different, and rather than bog down these articles with a bunch of code that isnt going to help anyone, I want to instead focus on crafting UI elements that are going to be somewhat universal, and not readily covered in a starter kit.
Frequently Asked Questions
Having a solid FAQ system is a huge win for any site that can pull it off. However, creating a 'living' FAQ system that can grow over time with your business requires that it be easy to append, edit, and be EASILY added to over time. This means no hard coding. For bonus points, you may want a limited set of your FAQ on certain pages where they are relevant.
All of this is easy peasy with Statamic. Checkout this preview for what we are going to be building
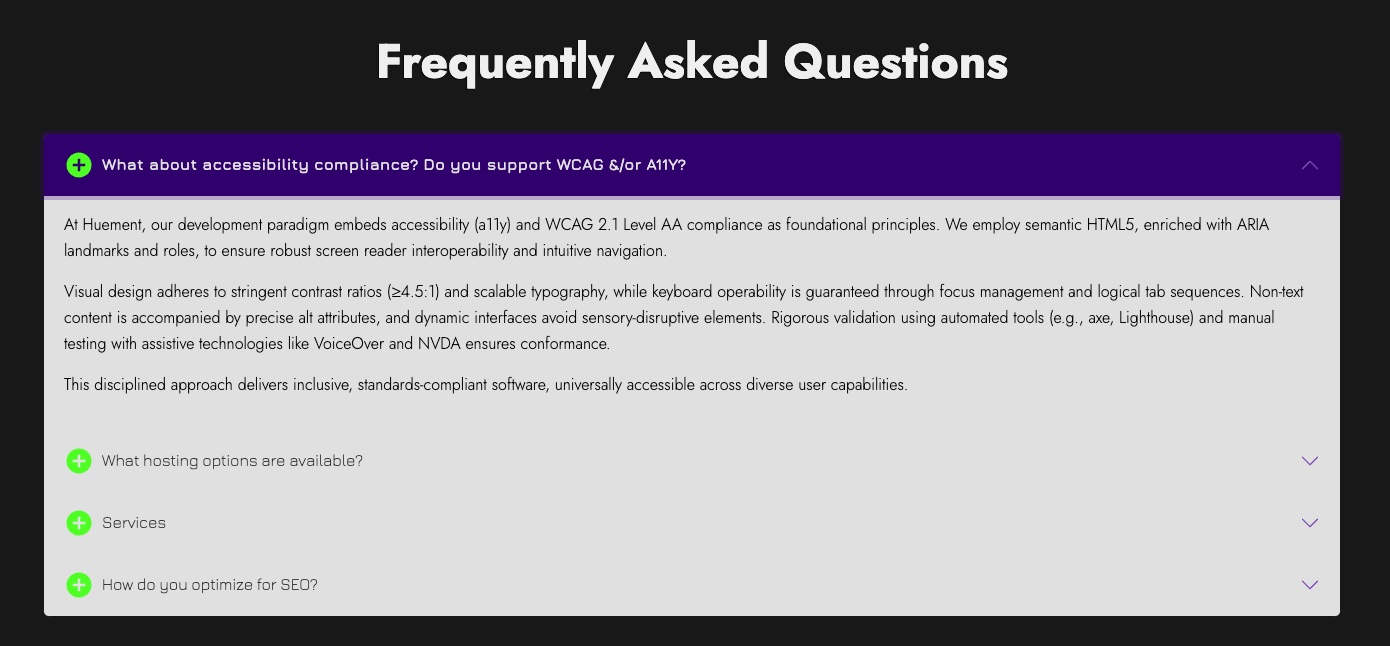
CAPTION: Preview of how the FAQ Content Accordion looks
Backend Blueprint
I like to start out by getting the backend setup, in the Statamic control panel, this means adding a new Collection called FAQs. The blueprint for that can be really simple, an input item for the 'Question', and one more for the 'Answer'.
Frontend Templates
Once you have have the basic format set, its nothing to get it out onto the page. For this example you'll notice that we are not using the @antlers directive, and instead everything is done is native blade syntax. Pretty cool huh? Honestly this is my prefered way of doing things, and I only ended up using the @antlers directive when I couldnt make it work any other way, for the only reason that I think it makes the code more readable if its all in the blade synatx.
<statamic:nav:services_faq as="entries" sort="title" order="asc">
	@foreach ($entries as $post)
		<x-hui-accordion-item :id="$post['id']" :key="$post['index']" :title="$post['question']" :content="$post['answer']" />
	@endforeach
</statamic:nav:services_faq>
If you are looking to do it in the antlers format, it would look something like this
@antlers
<h2 class="text-center display-5 fw-bold mb-5">{{ $title ?? 'Frequently Asked Questions' }}</h2>
<div class="accordion" id="{{ $htmlID ?? 'faqAccordion' }}">
  {{ collection:faqs taxonomy:faq_tags="{{ $tags ?? 'company|services'}}" }}
  <div class="accordion-item">
    <div class="accordion-header" id="heading-{{ $id }}-{{ $index }}">
      <button class="accordion-button {{ $index !== 0 ? 'collapsed' : '' }}" type="button" data-bs-toggle="collapse"
        data-bs-target="#collapse-{{ $id }}-{{ $index }}" aria-expanded="{{ $index === 0 ? 'true' : 'false' }}"
        aria-controls="collapse-{{ $id }}-{{ $index }}">
        {{ svg src="icons/plus-circle" class="bx w-40px h-4 text-success mr-2" }}
        {{ $title }}
      </button>
    </div>
    <div id="collapse-{{ $id }}-{{ $index }}" class="accordion-collapse collapse {{ $index === 0 ? 'show' : '' }}"
      aria-labelledby="heading-{{ $id }}-{{ $index }}" data-bs-parent="#{{ $parent ?? 'faqAccordion' }}">
      <div class="accordion-body">
        {{ $content }}
      </div>
    </div>
  </div>
  {{ /collection:faqs }}
</div>
@endantlers
This example also shows off how you can easily filter which FAQ items are displayed by controlling the taxonomy:faq_tags="{{ $tags ?? 'company|services'}}" items. Either we can set the tags item, or the default will pull all FAQ items tagged either company and/or services.
Pretty slick if you ask me, and at no time did we have to muck about in a controller loading items and handing them off to the view.
Archives & ORMs
So far we have talked about loading collections and taxonomies with very little filtering. However, what if you need to do something a bit more complex, loading the data can easily be abstracted away and done elsewhere, and then your views simply display the data as its given to them.
For instance, if you need to create a list of archived posts, such as all the posts from a specific month or year, that would look something like this:
use Statamic\Facades\Entry;
$posts = Entry::query()
->where('collection', 'blog')
->where('published', true)
->whereYear('created_at', $year)
->whereMonth('created_at', $month)
->get();
You can read all about using the Entry Facade in the official documentation statamic.dev/repositories/entry-repository. It is very powerful and allows you to do just about anything you would ever need to do with your posts, just look at that $posts variable and how easily we are able to drill down into our collections.
<div class="container blog-archives-component">
  <div class="row gx-2 gx-lg-5 gx-md-4 mb-2 mt-4">
    {{ if posts }}
      {{ posts }}
          {{ partial:blog/card-split tags="false" }}
      {{ /posts }}
      {{ paginate }}
          {{ if $prev_page || $next_page }}
            {{ partial:components/pagination }}
          {{ /if }}
      {{ /paginate }}
    {{ /if }}
  </div>
</div>
You can see here in this example its also a snap adding in pagination! Yes thats right, they really have thought of everything.
When things go wrong
No matter how much planning and research you do, eventually things are going to get messy during development, and problems are going to arise. Don't Panic! Below are some tips and tricks and resources for helping you out when you're building the front end.
the dump modifier
Using {{ variable | dump }} will help you out immensely. It is a great way of quickly seeing if what you think is happening is happening. More than simply an echo, it actually gives you a cool clickable debug element. Check it out:
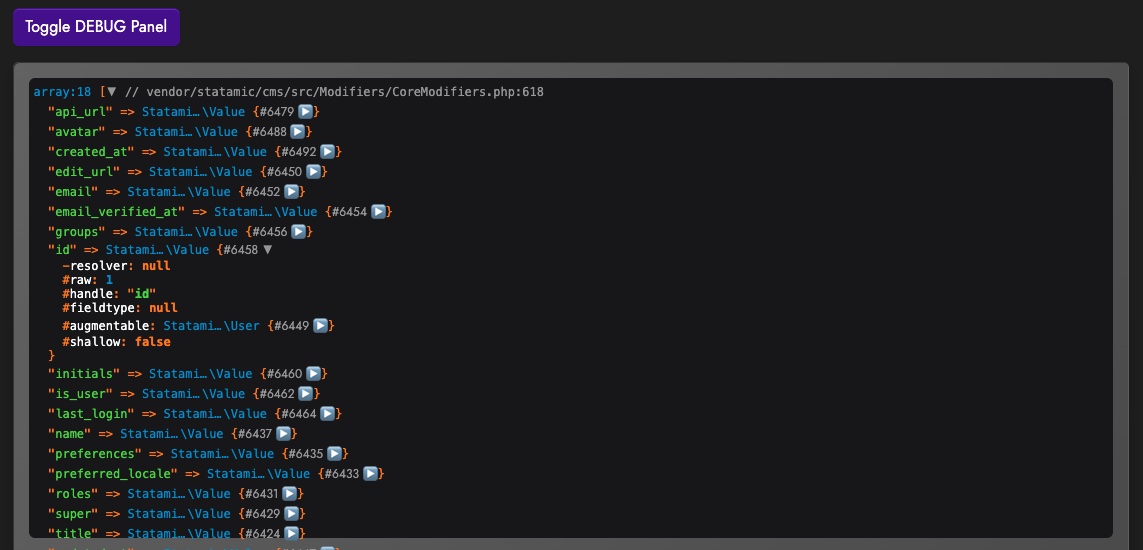
Thats a screenshot from the template where I kept a debug panel that was dumping what I was working on.
Dont forget the built in Blade / Laravel options are also available to you:
Display and dump and debug and print variables in Blade templates.
There are two absolutely stunning, smoke shows (of variable debugging) when it comes to Laravel Blade. Those being these two directive:
@dump($data)
@dd($name)
NOTE: These are directives that are used the same as @extends or @isset(), you don’t need to encapsulate them in brackets like {{ @dump('wrong') }}
There is also this option that I find myself using somethings, not just for the print_r, but just for slapping some Raw PHP in quick to test something is what I think it is.
@php print_r($data); @endphp
the debug bar
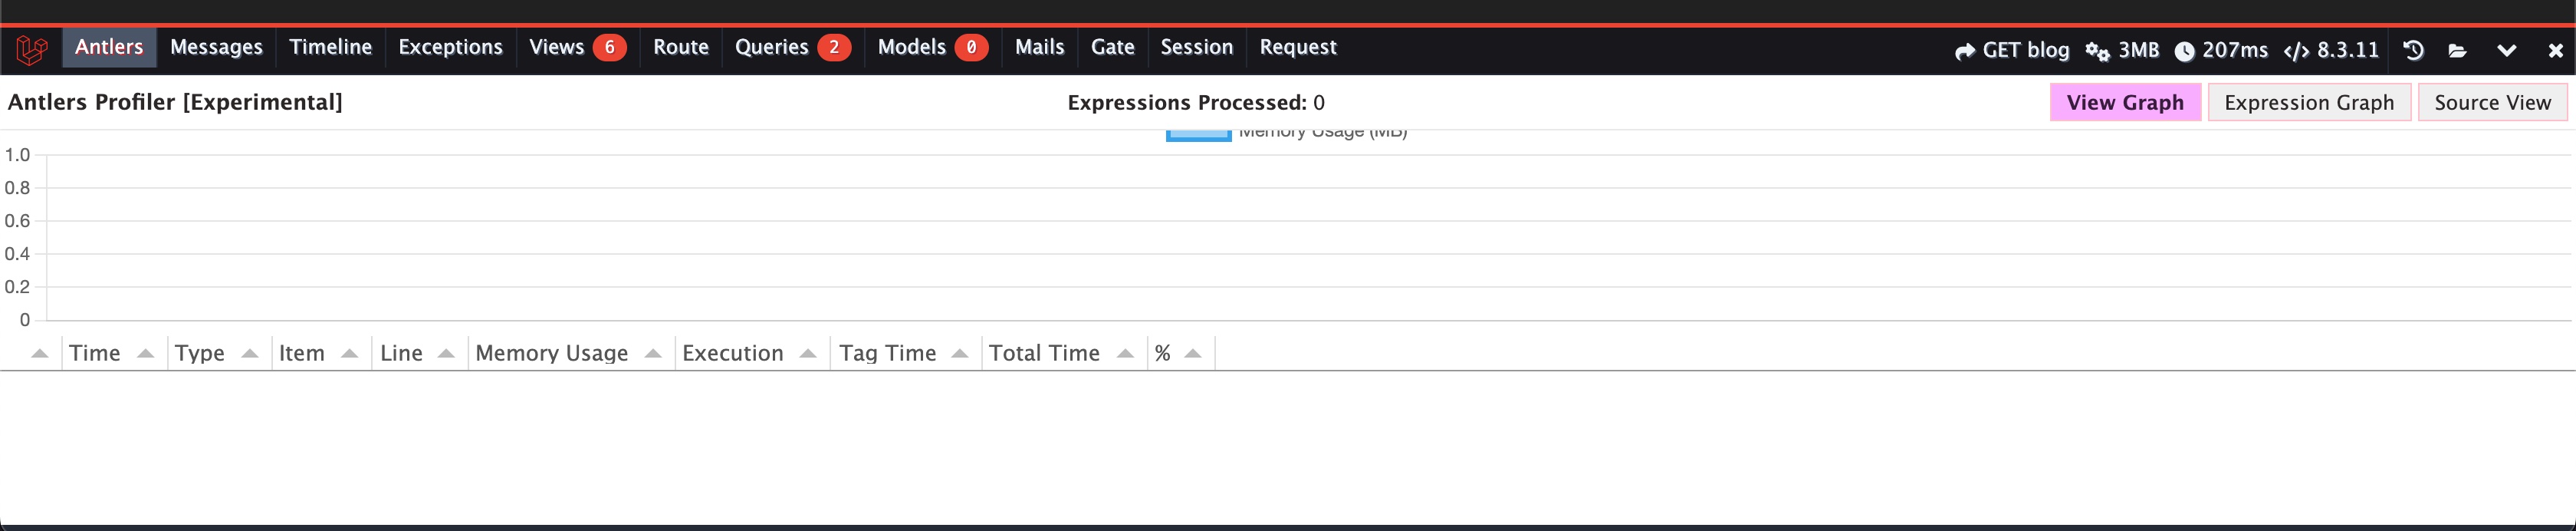
One of the great parts of Statamic that I dont see mentioned to often is how it seamlessly plugs itself into the Laravel Debug Bar package. Simply install both the Debug Bar and Statamic and the next time you visit your front end, you'll see a new tab for profiling your Antlers templates and viewing your statamic variables.
the discord server
Finally, this best and most important item for helping you to finish your project has got to be the amazing people over at the Statamic Discord. https://statamic.com/discord. I would really like to give a special shoutout to everyone over there who have helped me out in the past. Every experience I've had on their discord has been a positive one.
Summation
Hopefully this article inspires you to create / craft a Statamic UI. It was the intention of this article to give a quick deep dive into some of the possibilities possible when using the package. It really is a joy to use and I can't recommend it enough. In the future there may be one or two more articles covering things like installing some different community addons and adding additional functionality. If you take the time to get something simple like an FAQ section setup, you will have enough of a handle on the framework that building the rest of a blog will be a piece of cake.
If there is anything that you would recommend to someone just starting out with Statamic, or anything I missed, please leave a comment a below. If you have used statamic to complete a project and have some words of wisdom please comment about that too! As always thanks for reading!


Comments
Add Comment
All Comments
// NO_COMMENTS_IN_BUFFER
Establish initialization protocol by creating the baseline entry trace.
System Moderation Interceptor is ON for this communication hub. All user transmission vectors must clear access protocol filtration approvals before broadcasting logs live to public network arrays.