Static Setup Guide
Static Setup Guide
This guide is for users who want to use the pre-built static HTML files without any backend or build process. Perfect for quick deployments, integrating with existing systems, or when you don't need server-side functionality.
What You Get
The static HTML edition includes:
- 80+ HTML pages - All dashboard pages, components, and layouts
- Compiled CSS - Minified and optimized stylesheets
- JavaScript bundles - All required scripts bundled and ready
- Images & Assets - All graphics, icons, and media files
- SCSS Source - Source Sass files for customization (optional)
- package.json - For those who want to customize and rebuild
Quick Start
Step 1: Extract Files
Extract the downloaded package to your desired location:
ultraviolet-pro/
├── exports/              # Pre-built static HTML files
│   ├── uv-horizontal/  # Horizontal menu layout
│   └── uv-vertical/    # Vertical menu layout (default)
├── public/               # Assets (CSS, JS, images)
├── resources/            # Source files (SCSS, JS)
└── package.json          # Dependencies (for customization)
Step 2: Choose Your Layout
UltraViolet Pro comes with two navigation layouts:
Vertical Layout (Default)
exports/uv-vertical/
├── index.html
├── dashboard-analytics.html
├── dashboard-marketing.html
├── ui-alerts.html
├── ...
└── [100+ HTML files]
Horizontal Layout
exports/uv-horizontal/
├── index.html
├── dashboard-analytics.html
├── ...
└── [100+ HTML files]
Step 3: Deploy
The static files are ready to use immediately. You can:
Option A: Open Directly
Simply open any HTML file in your browser:
# On Mac
open exports/uv-vertical/index.html

# On Windows
start exports/uv-vertical/index.html

# On Linux
xdg-open exports/uv-vertical/index.html
Option B: Use a Local Server
For better testing (especially for features like AJAX):
# Using Python
cd exports/uv-vertical
python -m http.server 8000

# Using PHP
cd exports/uv-vertical
php -S localhost:8000

# Using Node.js (http-server)
npx http-server exports/uv-vertical -p 8000
Then visit: http://localhost:8000
Option C: Upload to Web Host
Upload the contents of exports/uv-vertical/ or exports/uv-horizontal/ to your web server:
- Via FTP/SFTP: Upload all files to your
public_htmlor web root - Via cPanel: Use File Manager to upload the zip and extract
- Via Git: Push to your hosting provider's Git repository
Step 4: Link Assets
The HTML files reference assets using relative paths. Make sure the folder structure remains intact:
<!-- CSS files are already linked in the HTML -->
<link href="../public/assets/app-*.css" rel="stylesheet">

<!-- JavaScript files are already included -->
<script src="../public/assets/app-*.js"></script>
File Structure
HTML Pages
All pages are organized by category:
Dashboards
index.html- Main dashboard (Analytics)dashboard-analytics.html- Analytics dashboarddashboard-marketing.html- Marketing dashboarddashboard-crm.html- CRM dashboarddashboard-ecommerce.html- E-commerce dashboarddashboard-crypto.html- Cryptocurrency dashboard
Applications
apps-calendar.html- Calendar applicationapps-chat.html- Chat interfaceapps-email.html- Email clientapps-file-manager.html- File managerapps-tasks-kanban.html- Kanban boardapps-invoice.html- Invoice generatorapps-ai-agent.html- AI agent interface
UI Components
ui-alerts.html- Alert componentsui-buttons.html- Button stylesui-cards.html- Card layoutsui-modals.html- Modal dialogsui-tabs.html- Tabs and pillsui-typography.html- Typographyui-colors.html- Color palette- ... and many more
Forms
forms-elements.html- Form inputsforms-validation.html- Form validationforms-advanced.html- Advanced inputsforms-editors.html- Rich text editorsforms-uploads.html- File uploadsforms-wizard.html- Multi-step forms
Tables
tables-basic.html- Basic tablestables-datatable.html- DataTablestables-gridjs.html- Grid.js tablestables-editable.html- Editable tables
Charts
charts-apex.html- ApexCharts examplescharts-chartjs.html- Chart.js examples
Maps
maps-vector.html- Vector maps
E-commerce
ecommerce-products.html- Product listingecommerce-product-detail.html- Product detailsecommerce-cart.html- Shopping cartecommerce-checkout.html- Checkout processecommerce-orders.html- Order managementecommerce-customers.html- Customer management
Authentication
auth-login.html- Login page (basic)auth-login-square.html- Login with card designauth-login-wallpaper.html- Login with backgroundauth-register.html- Registration pageauth-register-square.html- Registration with cardauth-register-wallpaper.html- Registration with backgroundauth-forgot-password.html- Password resetauth-lock-screen.html- Lock screen
Assets
CSS Files
Located in public/assets/:
app-[hash].css- Main application styles- Pre-compiled, minified, and optimized
- Includes all Bootstrap and custom styles
JavaScript Files
Located in public/assets/:
app-[hash].js- Main application scripts- Pre-bundled with all dependencies
- Includes Bootstrap, Alpine.js, and custom scripts
Images
Located in public/images/:
- Icons, logos, backgrounds
- User avatars (samples)
- Product images (samples)
- Dashboard graphics
Using the Static Files
Integration with Existing Projects
Copy Individual Pages
You can extract just the pages you need:
# Copy specific pages
cp exports/uv-vertical/dashboard-analytics.html /path/to/your/project/

# Copy assets
cp -r public/assets /path/to/your/project/public/
cp -r public/images /path/to/your/project/public/
Update Asset Paths
Adjust the CSS/JS paths in the HTML if needed:
<!-- Before (relative to exports folder) -->
<link href="../public/assets/app-abc123.css" rel="stylesheet">

<!-- After (adjust to your project structure) -->
<link href="./assets/app-abc123.css" rel="stylesheet">
Connecting to Your Backend
Replace Static Data
The HTML files include sample data. Replace with your API calls:
<!-- Static sample data -->
<h3 class="card-title">$125,000</h3>

<!-- Replace with your data -->
<h3 class="card-title" id="total-revenue">Loading...</h3>

<script>
// Fetch from your API
fetch('/api/dashboard/revenue')
  .then(response => response.json())
  .then(data => {
    document.getElementById('total-revenue').textContent = '$' + data.revenue;
  });
</script>
Hook Up Forms
Connect forms to your backend:
<!-- Add form handler -->
<form id="loginForm" onsubmit="handleLogin(event)">
  <input type="email" name="email" class="form-control">
  <input type="password" name="password" class="form-control">
  <button type="submit" class="btn btn-primary">Login</button>
</form>

<script>
function handleLogin(event) {
  event.preventDefault();

  const formData = new FormData(event.target);

  fetch('/api/login', {
    method: 'POST',
    body: formData
  })
  .then(response => response.json())
  .then(data => {
    if (data.success) {
      window.location.href = '/dashboard.html';
    }
  });
}
</script>
Theme Switching
The static files include the theme switcher. It works out of the box:
// Theme is automatically saved to localStorage
// Toggle between dark and light mode using the settings icon (⚙️)

// Programmatically change theme
document.documentElement.setAttribute('data-bs-theme', 'dark'); // or 'light'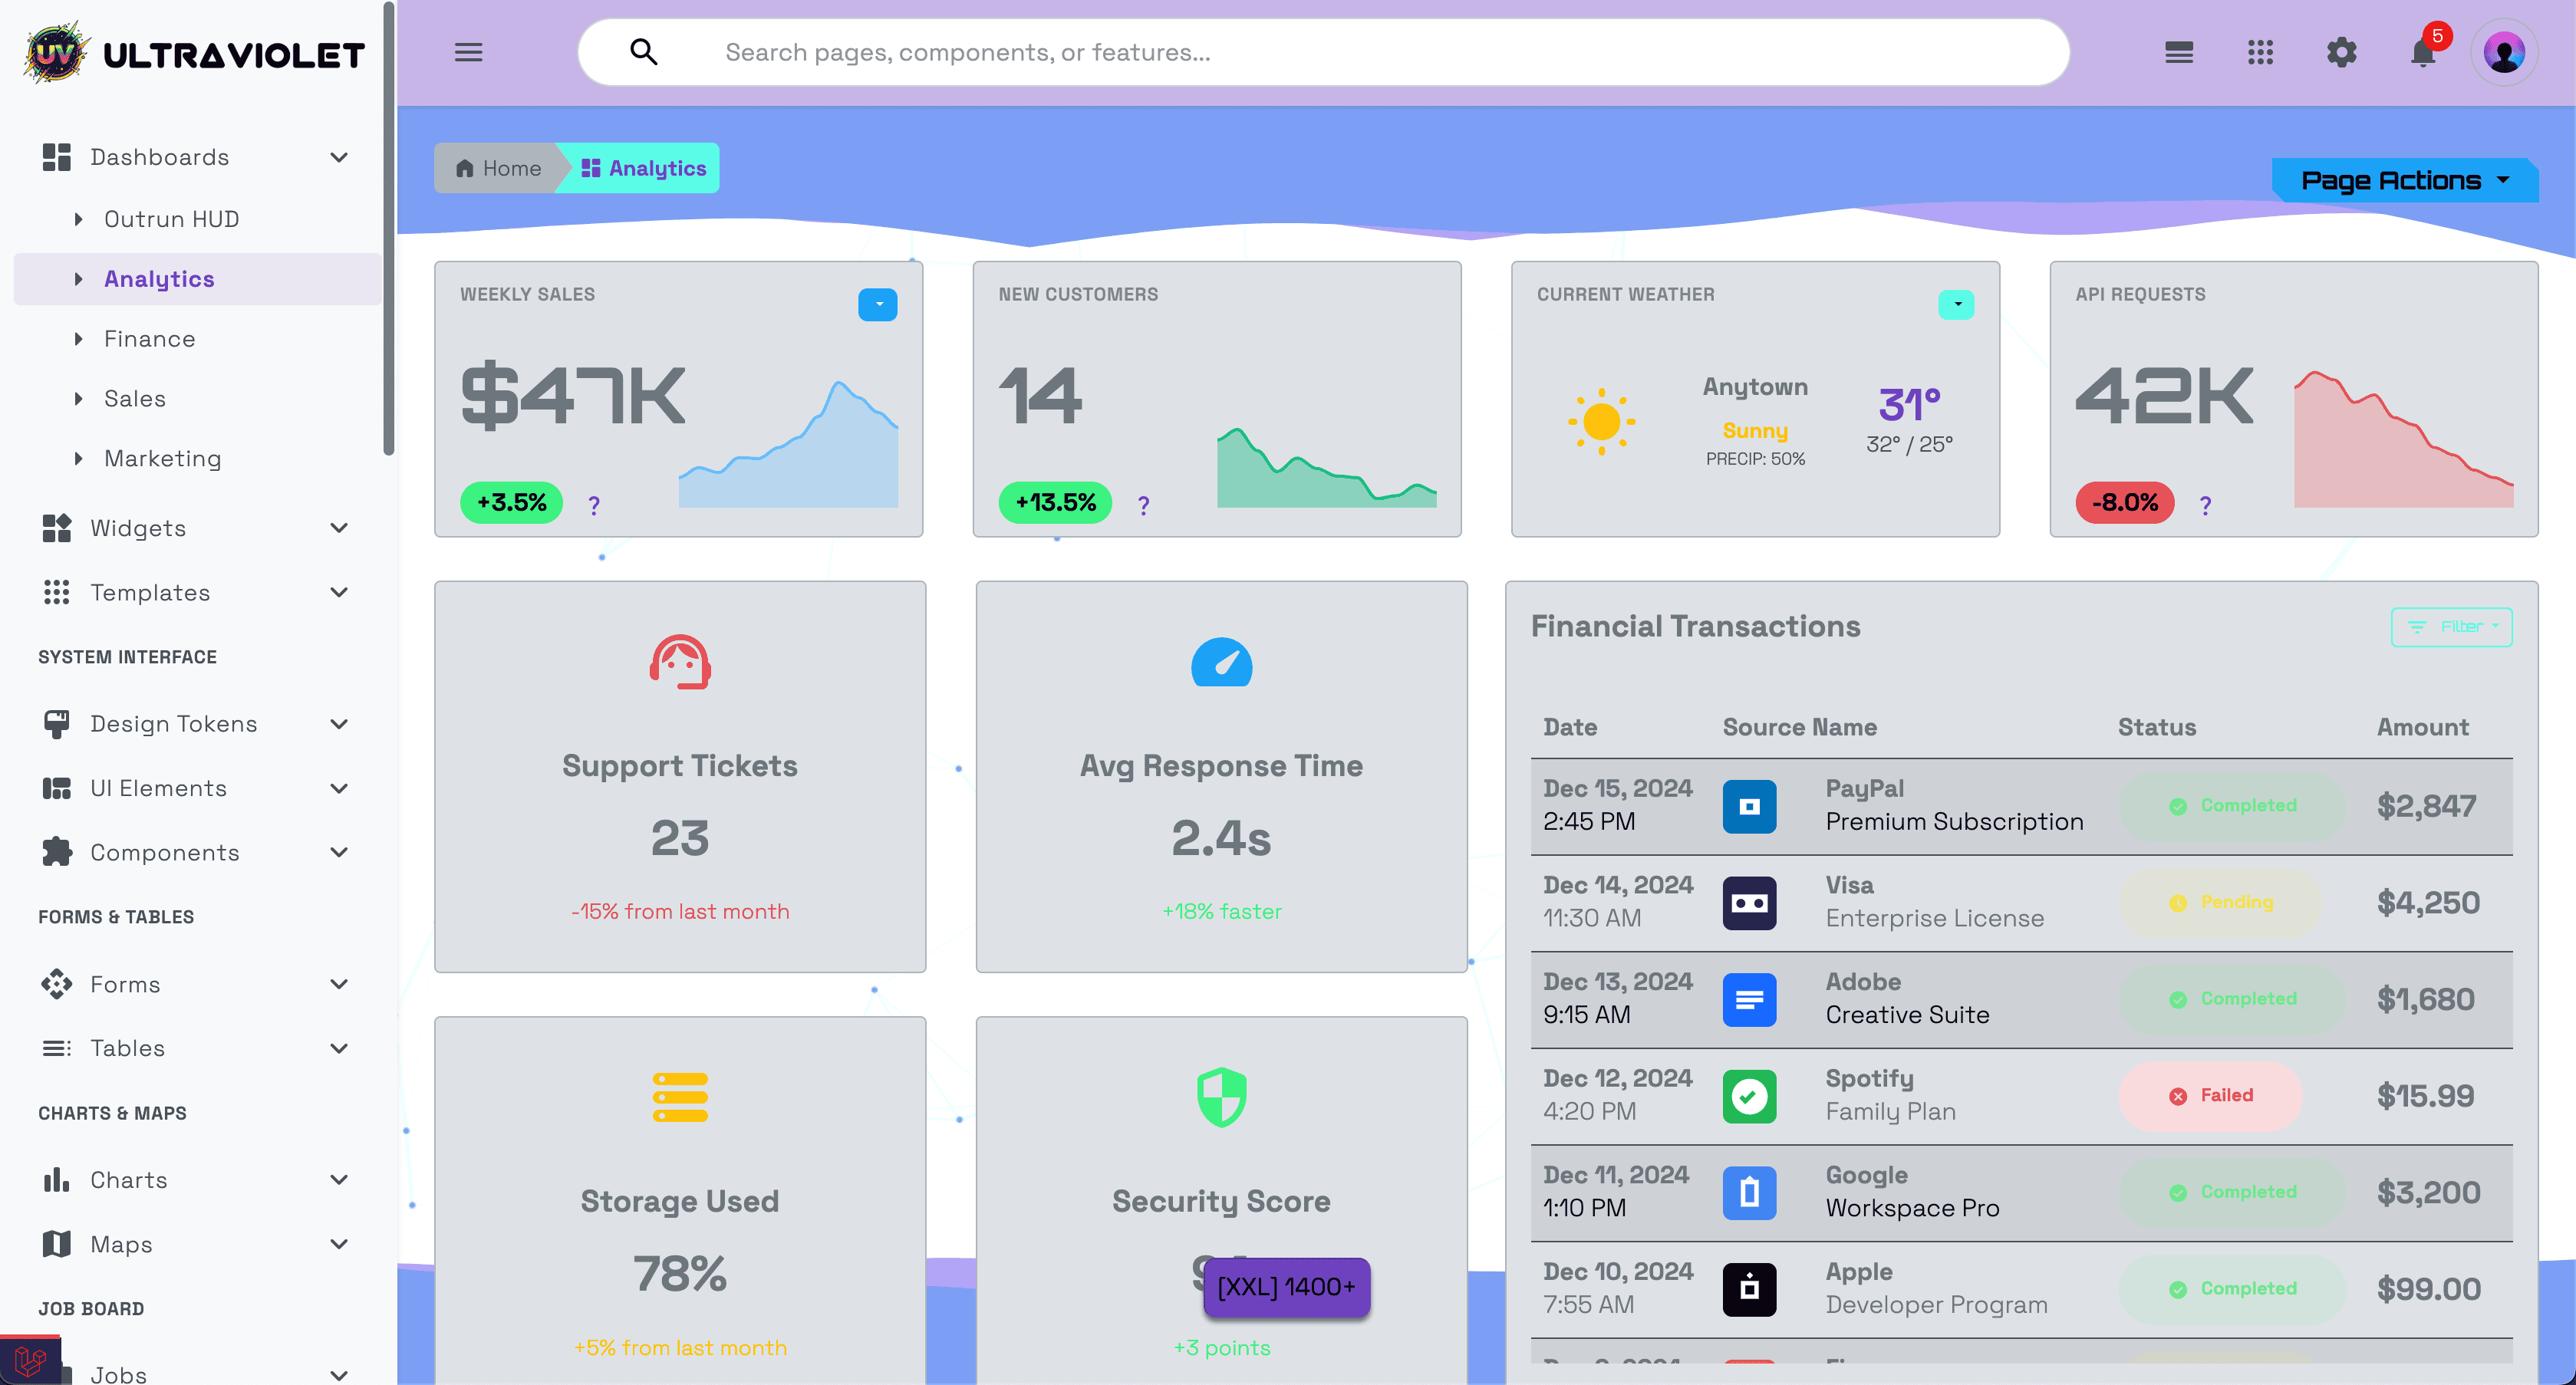
Light mode provides a clean, professional appearance for daytime use
Hosting Options
Static Hosting Services
Perfect for static files:
Netlify
# Drop the folder or connect to Git
# Netlify will serve the files as-is
Vercel
# Deploy from Git or CLI
vercel --prod
GitHub Pages
# Push to gh-pages branch
git subtree push --prefix exports/uv-vertical origin gh-pages
AWS S3
# Upload to S3 bucket and enable static website hosting
aws s3 sync exports/uv-vertical/ s3://your-bucket-name/ --acl public-read
Cloudflare Pages
# Connect Git repository or upload directly
# Build command: (none needed)
# Output directory: exports/uv-vertical
Traditional Web Hosting
Upload via FTP/SFTP to:
- Shared Hosting - cPanel, Plesk
- VPS/Dedicated - Nginx, Apache
- Cloud Hosting - DigitalOcean, Linode, AWS EC2
Configuration Examples
Nginx
server {
    listen 80;
    server_name example.com;
    root /var/www/ultraviolet;
    index index.html;

    location / {
        try_files $uri $uri/ /index.html;
    }

    # Cache static assets
    location ~* \.(css|js|jpg|jpeg|png|gif|ico|svg|woff|woff2)$ {
        expires 1y;
        add_header Cache-Control "public, immutable";
    }
}
Apache (.htaccess)
# Enable rewrite engine
RewriteEngine On

# If requested file doesn't exist, serve index.html
RewriteCond %{REQUEST_FILENAME} !-f
RewriteCond %{REQUEST_FILENAME} !-d
RewriteRule ^(.*)$ /index.html [L,QSA]

# Cache static assets
<FilesMatch "\.(css|js|jpg|jpeg|png|gif|ico|svg|woff|woff2)$">
    Header set Cache-Control "max-age=31536000, public"
</FilesMatch>
Common Tasks
Changing the Logo
Replace the logo in the navigation:
<!-- Find this in the HTML -->
<a href="index.html" class="logo">
    <img src="images/logo.png" alt="UltraViolet">
</a>

<!-- Replace with your logo -->
<a href="index.html" class="logo">
    <img src="images/your-logo.png" alt="Your Brand">
</a>
Updating the Brand Name
Find and replace "UltraViolet" throughout the HTML files:
# Using sed (Mac/Linux)
sed -i 's/UltraViolet/Your Brand Name/g' exports/uv-vertical/*.html

# Or manually edit each file
Removing Sample Data
Pages include sample/dummy data for demonstration. Replace with your content:
- Open the HTML file
- Find the sample data in
<div class="card">or table rows - Replace with your content or API calls
Adding More Pages
Create new pages using existing ones as templates:
# Copy an existing page
cp exports/uv-vertical/dashboard-analytics.html exports/uv-vertical/dashboard-custom.html

# Edit the content
# Keep the header, footer, and navigation structure
Limitations of Static Files
What Works
✅ All UI components and layouts ✅ Client-side interactions (dropdowns, modals, tabs) ✅ Theme switching (dark/light mode) ✅ Charts and maps (with static data) ✅ Forms (you handle submission)
What Requires Customization
⚠️ Real data - You'll need to integrate with your API ⚠️ Authentication - Connect to your auth system ⚠️ Form submission - Wire up to your backend ⚠️ Database operations - Implement via API calls ⚠️ File uploads - Requires server endpoint
What Doesn't Work
❌ Livewire components - Requires Laravel backend ❌ Server-side rendering - Static HTML only ❌ Database queries - No backend included
Next Steps
Keep Static, Customize Styles
Want to modify colors, fonts, or styles? → See: Customization Guide - Learn how to set up npm and Vite to compile custom SCSS
Need Dynamic Functionality
Need user authentication, database, or server-side logic? → See: Laravel Setup Guide - Set up the full Laravel application
Learn About Theming
Understand the powerful theme system: → See: Theming Guide - Dark mode, light mode, and custom themes
Support
If you need help with static file deployment:
- Check the HTML file structure
- Verify asset paths are correct
- Ensure all files are uploaded
- Test in multiple browsers
For more help: support@huement.com