Livewire Introduction
Livewire Introduction
Overview
UltraViolet Pro includes a complete Laravel Livewire 3 integration with 9 pre-built, production-ready components. Livewire allows you to build dynamic, reactive interfaces using Laravel and Blade—no complex JavaScript frameworks required.
What is Livewire?
Laravel Livewire is a full-stack framework for Laravel that makes building dynamic interfaces simple, without leaving the comfort of Laravel. Think of it as a way to build reactive, modern interfaces using server-side logic instead of complicated JavaScript.
Key Benefits
- ✅ Write in PHP - No need to write JavaScript for interactivity
- ✅ Real-time updates - Components update instantly without page refreshes
- ✅ Simple to learn - If you know Laravel, you know Livewire
- ✅ Powerful features - File uploads, pagination, validation, and more
- ✅ SEO-friendly - Server-rendered content that search engines love
What's Included
UltraViolet Pro comes with everything you need for Livewire development:
9 Pre-Built Components
All production-ready and fully functional:
- Counter - Simple increment/decrement with real-time updates
- Todo List - Full-featured task management with add, toggle, delete
- Contact Form - Form validation and submission with Livewire
- Search - Real-time search with instant results
- Vector Maps - Interactive maps with controls and layers
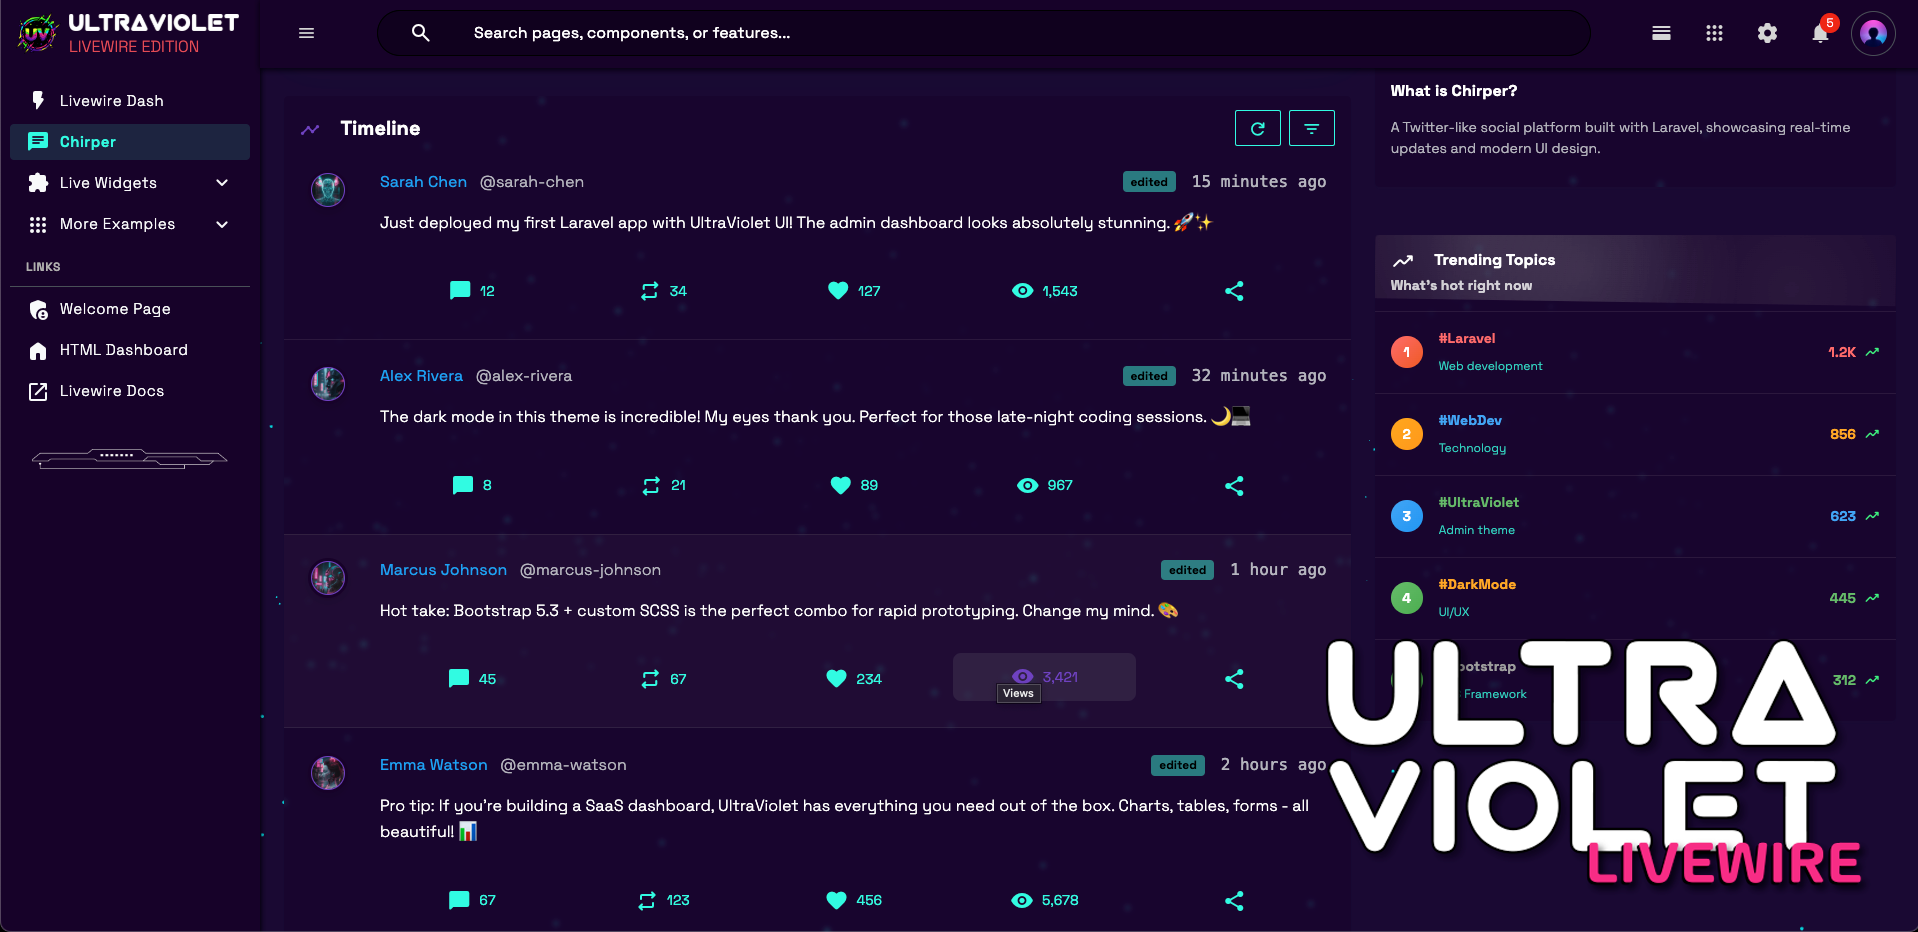
- Chirps - Social media posting (like Twitter/X)
- Stats Widget - Live statistics with auto-refresh
- Mini Counter - Compact counter for dashboards
- Quick Todo - Streamlined todo widget for sidebars
Complete Authentication System
Built on Laravel Breeze with Bootstrap styling and Laravel Socialite integration:
- Email/Password Authentication - Traditional login and registration
- Social OAuth Login - Google, GitHub, Facebook, Twitter, LinkedIn, Discord
- Password Reset - Secure password recovery system
- Email Verification - Optional email verification workflow
- Profile Management - User profile editing and password updates
- Social Login Buttons - Beautiful, branded OAuth buttons with hover effects
- Three Beautiful Auth Templates - Basic, Square, and Wallpaper layouts
Dedicated Layout System
- admin-livewire.blade.php - Main Livewire layout
- Full Vite integration for assets
- @push/@stack support for component-specific scripts
- Menu system integration
- Breadcrumb support
Complete Documentation
- Component usage guides
- Layout system documentation
- Best practices
- Real-world examples
Quick Start
1. Automated Setup
UltraViolet includes a comprehensive setup script that handles everything for you:
./setup.shThe setup script will ask you to choose your development environment:
Option 1: Laravel Sail (Recommended) 🚢
- ✅ No local PHP, Composer, or Node.js required
- ✅ Uses Docker containers
- ✅ Consistent environment across all machines
- ✅ Perfect for beginners and teams
Option 2: Direct PHP
- ✅ Uses your local PHP installation
- ✅ Faster startup times
- ✅ Requires PHP 8.2+, Composer, Node.js
- ✅ Best for experienced developers
The script will then:
- ✅ Check system requirements (based on your choice)
- ✅ Install Composer dependencies
- ✅ Install NPM dependencies
- ✅ Set up environment files
- ✅ Generate application key
- ✅ Set up database
- ✅ Build frontend assets
- ✅ Create storage links
- ✅ Set proper permissions
Important Environment Variables:
# Application
APP_NAME="UltraViolet Livewire"
APP_ENV=local
APP_DEBUG=true
APP_URL=http://localhost

# Database (Sail uses these automatically)
DB_CONNECTION=mysql
DB_HOST=mysql
DB_DATABASE=laravel
DB_USERNAME=sail
DB_PASSWORD=password

# Cache & Sessions
CACHE_DRIVER=redis
SESSION_DRIVER=redis
QUEUE_CONNECTION=redis
2. Start the Development Server
After setup, the script will tell you exactly which command to use based on your choice:
If you chose Laravel Sail:
./run-sail.shThen start Vite:
./vendor/bin/sail npm run devVisit: http://localhost
If you chose Direct PHP:
./run.shThen start Vite:
npm run devVisit: http://localhost:8080
3. Access the Livewire Dashboard
Navigate to /livewire/dashboard to see all components in action:
- Sail users: http://localhost/livewire/dashboard
- Direct PHP users: http://localhost:8080/livewire/dashboard
4. Set Up Database & Authentication
UltraViolet includes a complete authentication system with database setup:
# Run migrations (includes social auth fields)
php artisan migrate

# Seed the database with sample data
php artisan db:seed

# Configure OAuth providers in .env
# See Authentication docs for detailed setup
Database Seeding populates your database with:
- Sample users for testing
- Demo chirps for the social media component
- Test data for all Livewire components
Available Auth Features:
- Email/password login and registration
- Social OAuth (Google, GitHub, Facebook, Twitter, LinkedIn, Discord)
- Password reset and email verification
- Social login buttons with branded styling
- Three beautiful auth templates
5. Database Management
UltraViolet includes comprehensive database setup and management:
Migrations
# Run all pending migrations
php artisan migrate

# Rollback last migration
php artisan migrate:rollback

# Reset all migrations
php artisan migrate:reset

# Fresh install (drop all tables and re-run migrations)
php artisan migrate:fresh
Database Seeding
# Seed with sample data
php artisan db:seed

# Fresh migration + seeding
php artisan migrate:fresh --seed

# Seed specific seeder
php artisan db:seed --class=ChirpSeeder
Available Seeders
- DatabaseSeeder - Main seeder that runs all others
- ChirpSeeder - Sample social media posts
- UserSeeder - Test users for authentication
- DemoDataSeeder - Component demo data
Database Reset
# Complete reset (useful for development)
php artisan migrate:fresh --seed

# This will:
# 1. Drop all tables
# 2. Re-run all migrations
# 3. Seed with sample data
6. Creating Your First Component
# For Sail users
./vendor/bin/sail artisan make:livewire MyComponent

# For direct PHP users
php artisan make:livewire MyComponent
This creates:
app/Livewire/MyComponent.php- Component classresources/views/livewire/my-component.blade.php- Component view
7. Using a Component
In any Blade view:
<livewire:my-component />Or using the @livewire directive:
@livewire('my-component')Architecture
UltraViolet's Livewire integration is built on a solid foundation:
Component Structure
app/Livewire/              # Component classes (PHP)
resources/views/livewire/  # Component views (Blade)
config/livewire.php        # Livewire configuration
config/livewire-menus.php  # Menu structure for Livewire section
Layout System
resources/views/layouts/admin-livewire.blade.php  # Main layout
resources/views/layouts/partials/                 # Layout partials
Assets
resources/js/     # JavaScript (including Livewire scripts)
resources/sass/   # Styles (including Livewire component styles)
Why Livewire?
Traditional Approach (Complex)
// JavaScript framework required
import { createApp } from 'vue';
import axios from 'axios';

export default {
    data() {
        return { count: 0 }
    },
    methods: {
        increment() {
            axios.post('/api/increment')
                .then(response => {
                    this.count = response.data.count;
                });
        }
    }
}
Livewire Approach (Simple)
<?php
namespace App\Livewire;

use Livewire\Component;

class Counter extends Component
{
    public $count = 0;

    public function increment()
    {
        $this->count++;
    }

    public function render()
    {
        return view('livewire.counter');
    }
}
<div>
<h1>{{ $count }}</h1>
<button wire:click="increment">+</button>
</div>That's it! No API routes, no Axios calls, no complex state management. Just PHP and Blade.
Development Workflow
Daily Development Commands
# Start development server
./run-sail.sh  # or ./run.sh

# Start Vite for assets (in separate terminal)
npm run dev  # or ./vendor/bin/sail npm run dev

# Run tests
php artisan test  # or ./vendor/bin/sail test

# Clear caches if needed
php artisan cache:clear
php artisan config:clear
php artisan view:clear
Testing Your Components
# Run all tests
php artisan test

# Run specific test file
php artisan test --filter=CounterTest

# Run with coverage
php artisan test --coverage
Debugging
# Enable debug mode (in .env)
APP_DEBUG=true

# View logs
tail -f storage/logs/laravel.log

# Clear logs
php artisan log:clear
Livewire 3 Features
UltraViolet uses the latest Livewire 3, which includes:
- ⚡ Faster performance - Optimized for speed
- 🎯 Better DX - Improved developer experience
- 🔄 Enhanced reactivity - More intuitive updates
- 📦 Smaller payload - Less data over the wire
- 🎨 Better integration - Works seamlessly with Alpine.js
Example: Real-Time Search
Here's how easy it is to build a live search:
<?php
namespace App\Livewire;

use Livewire\Component;
use App\Models\User;

class UserSearch extends Component
{
    public $search = '';

    public function render()
    {
        return view('livewire.user-search', [
            'users' => User::where('name', 'like', "%{$this->search}%")
                          ->limit(10)
                          ->get()
        ]);
    }
}
<div>
<input type="text" wire:model.live="search" placeholder="Search users...">
<ul>
@foreach($users as $user)
<li>{{ $user->name }}</li>
@endforeach
</ul>
</div>That's it! Type in the input, and results update instantly. No JavaScript required.
Development Environment
Why We Recommend Laravel Sail
Laravel Sail is the recommended approach for UltraViolet Livewire development because:
- 🚀 Zero Setup Hassle - No need to install PHP, Composer, or Node.js locally
- 🔄 Consistent Environment - Same setup works on macOS, Windows, and Linux
- 👥 Team Collaboration - Everyone has identical development environments
- 🧹 Easy Cleanup - Remove containers to completely clean up
- 🐳 Production Parity - Environment closer to production deployment
Setup Scripts Explained
UltraViolet includes three powerful scripts to streamline your development:
1. setup.sh - One-Time Setup
./setup.sh- Comprehensive system checks
- Automated dependency installation
- Environment configuration
- Database setup
- Asset compilation
- Permission management
2. run-sail.sh - Start with Docker (Recommended)
./run-sail.sh- Starts all Docker containers
- Provides web server, database, Redis, and Mailpit
- No local dependencies required
- Perfect for beginners and teams
3. run.sh - Start with Local PHP
./run.sh- Uses your local PHP installation
- Faster startup times
- Requires PHP 8.2+, Composer, Node.js
- Best for experienced developers
Which Should You Choose?
🏆 We strongly recommend Laravel Sail for these reasons:
- Beginners: No complex local setup required
- Teams: Consistent environment across all developers
- Multiple Projects: No dependency conflicts
- Clean Development: Easy to reset and start fresh
Only use direct PHP if:
- You already have PHP 8.2+ installed and configured
- You need faster startup times
- You're comfortable managing local dependencies
- You need specific local debugging tools
Getting Started with Sail
- Install Docker Desktop from docker.com
- Run the setup script:
./setup.sh - Start with Sail:
./run-sail.sh - Start Vite:
./vendor/bin/sail npm run dev - Visit: http://localhost
That's it! No PHP installation, no Composer setup, no Node.js configuration.
System Requirements Comparison
| Requirement | Laravel Sail | Direct PHP |
|---|---|---|
| Docker | ✅ Required | ❌ Not needed |
| PHP 8.2+ | ❌ Not needed | ✅ Required |
| Composer | ❌ Not needed | ✅ Required |
| Node.js/NPM | ❌ Not needed | ✅ Required |
| MySQL/PostgreSQL | ❌ Not needed | ✅ Required |
| Setup Time | 🚀 5 minutes | ⏰ 30+ minutes |
| Environment Consistency | ✅ Perfect | ⚠️ Varies by machine |
| Dependency Conflicts | ✅ None | ⚠️ Possible |
| Cleanup | 🧹 docker-compose down |
🔧 Manual uninstall |
Why Sail Wins
For 95% of developers, Laravel Sail is the better choice because:
- 🎯 Zero Configuration - Works out of the box
- 🔄 Reproducible - Same environment every time
- 👥 Team Friendly - No "works on my machine" issues
- 🧹 Clean - Easy to reset and start fresh
- 📚 Learning - Focus on Laravel, not system administration
- 🚀 Fast Setup - From zero to running in minutes
Still not convinced? Try both approaches:
- Start with Sail:
./run-sail.sh(recommended) - If you prefer local PHP:
./run.sh(requires setup)
Most developers who try Sail never go back to local PHP setup.
Next Steps
Ready to dive in? Check out these pages:
- [Components Guide]({{ route('docs.show', 'livewire/components') }}) - Detailed guide for all 9 components
- [Layout System]({{ route('docs.show', 'livewire/layout') }}) - How the Livewire layout works
- [Socialite Integration]({{ route('docs.show', 'livewire/socialite-integration') }}) - Complete OAuth setup guide
- [Laravel Sail]({{ route('docs.show', 'livewire/laravel-sail') }}) - Complete Sail guide and best practices
- [Best Practices]({{ route('docs.show', 'livewire/best-practices') }}) - Tips for building with Livewire
Troubleshooting
Common Issues
1. Components Not Loading
# Clear all caches
php artisan optimize:clear

# Rebuild assets
npm run build
2. Database Connection Issues
# Check database connection
php artisan tinker
# Then run: DB::connection()->getPdo();

# Reset database
php artisan migrate:fresh --seed
3. Assets Not Loading
# Make sure Vite is running
npm run dev

# Or rebuild for production
npm run build
4. Permission Issues
# Fix storage permissions
php artisan storage:link
chmod -R 775 storage bootstrap/cache
Getting Help
- Live Dashboard:
/livewire/dashboard- See components in action - Authentication System:
/login- Complete auth with social OAuth - Official Docs: livewire.laravel.com
- Livewire 3 Guide: Laravel Livewire Documentation
- Community: Livewire Discord
When to Use Livewire
✅ Perfect For:
- Admin dashboards and panels
- Real-time data displays
- Forms with validation
- Interactive tables and lists
- Live search and filtering
- Single-page components
- CRUD operations
⚠️ Consider Alternatives For:
- Complex SPAs with heavy client-side logic
- Applications requiring offline functionality
- Real-time collaboration with multiple users
- High-frequency updates (100+ per second)
For those cases, consider using a JavaScript framework like Vue or React alongside Livewire.
Ready to build something amazing? Let's explore the [Components Guide]({{ route('docs.show', 'livewire/components') }}) next! 🚀